Enhancing your home’s exterior doesn’t always require hiring professional services. Often, a simple DIY project like garage door painting can make a significant impact. A fresh coat of paint not only rejuvenates your garage door but also elevates your home’s curb appeal. This step-by-step guide will provide you with all the knowledge you need to undertake a successful DIY garage door painting project.
Why Paint Your Garage Door?
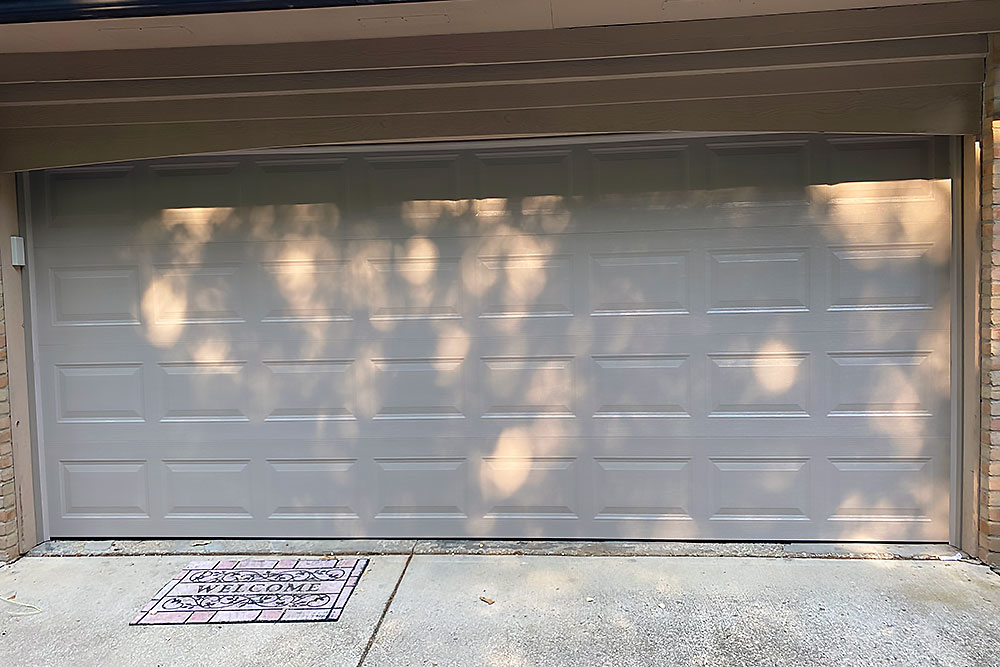
Before diving into the how-to, it’s important to understand why painting your garage door can be a game-changer for your home’s exterior. Beyond cosmetic reasons, painting your garage door can help with garage door maintenance, protecting the material from the elements and extending its lifespan.
Choosing the Right Paint
The first step to a successful garage door makeover is choosing the right paint. There are numerous factors to consider here, including color selection, paint finishes, and the type of paint that best suits the garage door’s material.
When it comes to color selection, consider the architectural style of your home and the existing color palette.
As for paint finishes, choose one that aligns with your aesthetic preference and the durability you need. Typically, satin or semi-gloss finishes are ideal for exterior painting projects, providing a nice sheen while offering good resistance to outdoor elements.
Surface Preparation
Surface preparation is a crucial part of the painting process, ensuring the paint adheres properly to the surface and preventing peeling and cracking. This stage involves cleaning the garage door thoroughly to remove dirt and grime. For metal doors, you may need to remove any rust, while wooden doors may require some sanding to smooth out any rough areas.
You’ll also need to tape off any areas that you don’t want to be painted, like handles and window frames, using painter’s tape. To learn more about surface preparation, visit this page.
Primer Application
Once your garage door is clean and dry, it’s time to apply a primer. This step is especially important if you’re significantly changing the color of your garage door or painting a bare wood or metal door. The primer creates a consistent base for your paint, helping the color show up more vibrantly and providing additional protection to the door.
Paint Application
After your primer has dried (follow the manufacturer’s instructions for drying times), you’re ready to start painting. When applying the paint, start at the top of the door and work your way down, maintaining a wet edge to prevent unsightly lap marks.
For a smooth, professional finish, apply several thin layers of paint instead of one thick layer, allowing each to dry completely before adding another. For a step-by-step guide on paint application, click here.
DIY Garage Door Painting | Conclusion
DIY garage door painting is a manageable project that can dramatically enhance your home’s appearance. By following these steps and understanding the importance of each—right from color selection to surface preparation, primer application, and paint application—you can achieve a professional finish. However, if you find the process overwhelming, it might be worth considering professional painting services.
Remember, a well-painted garage door not only improves your home’s curb appeal but also contributes to garage door maintenance, helping it withstand the elements and last longer. Happy painting!
FAQs (frequently asked questions)
Can I paint my garage door without professional assistance?
Absolutely! DIY garage door painting is a feasible project that you can undertake on your own. By following the step-by-step guide provided in this article, you can achieve professional-looking results and save money on hiring professional painters.
How do I choose the right paint color for my garage door?
When selecting a paint color for your garage door, consider the overall exterior color scheme of your home. Look for colors that complement or contrast with the existing colors. It’s also a good idea to consider the architectural style of your home and the surrounding neighborhood. Testing paint samples on a small section of the garage door can help you visualize the final look before committing to a color.
Do I need to prime my garage door before painting?
In most cases, it’s recommended to prime your garage door before applying the final coat of paint. Priming helps improve paint adhesion, enhances durability, and ensures better coverage. However, if your garage door is already in good condition and you’re using a paint that includes a primer, you may be able to skip this step. Assess the condition of your garage door and follow the paint manufacturer’s instructions to determine if priming is necessary.
How do I achieve a smooth and professional finish?
To achieve a smooth finish, proper surface preparation is crucial. Ensure that the garage door is clean, free of any dirt or debris and that any existing paint or stains are removed. Sanding the surface and using high-quality brushes, rollers, or paint sprayers can help minimize brush or roller marks. Applying paint in thin, even coats and allowing sufficient drying time between coats will also contribute to a professional finish.
How long does the paint on a garage door typically last?
The longevity of the paint on a garage door depends on various factors, including the quality of the paint, the surface preparation, the weather conditions, and the level of maintenance. On average, a well-painted garage door can last anywhere from 5 to 10 years. Regular maintenance, such as cleaning the surface and addressing any chipped or peeling paint, can extend the lifespan of the paint.
Can I change the paint color of my garage door in the future?
Yes, you can change the paint color of your garage door in the future. If you decide to repaint your garage door, follow the same surface preparation steps outlined in this guide. Depending on the new color and the existing paint, you may need to apply additional coats for full coverage. Remember to consider the compatibility of the new paint color with your home’s exterior and test paint samples before committing to a new color.